
How to Deposit Money into Binance (3 Ways)
Learn how to deposit money into Binance — free crypto transfers, card purchases, and bank transfer — plus the fees and common mistakes to avoid.
 Lucas Almeida 5 min read
 Key takeaways
- Crypto deposits are free on Binance; you only pay the network (blockchain) fee on the sending side.
- Always select the correct network when depositing crypto — sending tokens on the wrong network is the single most common way people lose funds.
- For your first deposit, send a small test amount before moving the full sum.
- You can also buy crypto directly with a card or move fiat by bank transfer, but those routes carry their own fees and limits.
- The deposit address is generated per coin and per network; always copy it fresh from Binance rather than reusing an old one.
You deposit money into Binance in one of three ways: send cryptocurrency from another wallet (free, aside from the network fee), buy crypto directly with a card, or move fiat by bank transfer. For most people, the free and fastest route is a crypto transfer.
The one rule that prevents nearly every lost deposit: always match the network. Sending crypto on the wrong network is the most common — and most avoidable — way people lose funds.
The three ways to fund your Binance account
There are three deposit routes, each with a different trade-off.
| Method | Cost | Speed | Best for |
|---|---|---|---|
| Crypto transfer | Free (only the network fee) | Minutes | Moving funds from a wallet or another exchange |
| Card purchase | Card processing fee | Instant | Buying your first crypto directly |
| Bank transfer | Varies, often low | Hours to days | Moving fiat into crypto |
Start with a crypto transfer if you already hold crypto somewhere. If you are buying crypto for the first time, a card purchase is the simplest entry point.
How to deposit crypto step by step
Crypto deposits are free — Binance’s deposit and withdrawal schedule charges nothing to receive crypto — and usually credit within minutes. Here is the exact flow.
Step 1: Open the deposit page
Log in to Binance and go to Wallet → Deposit (or Fiat and Spot → Deposit). Choose the cryptocurrency you want to deposit.
Step 2: Select the coin and network
Pick the coin, then pick the network. This is the step that matters most.
The network must match the network you are sending from. If you hold USDT on the Ethereum network (ERC20), deposit to the ERC20 address. If you hold it on Tron (TRC20), deposit to the TRC20 address. The address is different for each network, and funds sent to the wrong one can be lost.
Step 3: Copy the deposit address
Binance shows a deposit address and a QR code. Copy the address, or scan the QR code with the sending wallet.
Generate a fresh address if you have not used this one in a while — this avoids sending to an address that has changed.
Step 4: Send from your wallet
Open your other wallet or exchange, paste the Binance deposit address, and check it character by character. Malware can swap a copied address for an attacker’s, so the two-second visual check is worth it.
Confirm the transfer. If your sending wallet asks you to confirm the network, make sure it matches what you selected in step 2.
Step 5: Wait for confirmation
Crypto deposits need network confirmations before Binance credits them. Most networks take minutes; Bitcoin can take longer because it needs several confirmations.
Track the status on the deposit page. Once it shows the required confirmations, your balance updates.
Common coins and their networks
The network decision is where deposits go wrong, so here is a quick reference for the coins people move most often.
| Coin | Common networks | What to check |
|---|---|---|
| USDT | TRC20, ERC20, BEP20, and several L2s | Match the network to wherever the USDT currently sits |
| BTC | Bitcoin (native), Lightning, BEP20 | Native is standard; BEP20 is a wrapped version |
| ETH | ERC20, plus L2s like Arbitrum and Optimism | ERC20 is the default; L2s are cheaper but must match |
| USDC | ERC20, TRC20, BEP20, and others | Confirm which USDC you actually hold |
The rule never changes: the network you select on Binance must equal the network you are sending from. If your USDT is on Tron, deposit on TRC20. If it is on Ethereum, deposit on ERC20. The address differs per network, and the wrong choice can lose the funds.
If you are unsure which network your sending wallet uses, check the coin’s detail page in that wallet — most show the network next to the balance.
A note on memos and tags
Some coins — XRP, XLM, EOS, and ATOM — require a memo or destination tag when you deposit to Binance, in addition to the address. When this applies, Binance shows the required memo on the deposit page. Copy both the address and the memo, and include both in the sending wallet. Missing the memo can leave your deposit stuck in Binance’s shared wallet.
How long deposits take by network
Deposit speed depends on the blockchain’s confirmation requirements, not on Binance itself.
| Network | Typical credit time |
|---|---|
| TRC20, BEP20 | Usually under a minute |
| ERC20 (Ethereum) | A few minutes, longer when congested |
| Bitcoin | 10–60 minutes (needs several confirmations) |
| Fiat bank transfer | Hours to days |
Once you submit, track the number of required confirmations on the deposit page. The funds credit automatically when the network reaches the required count.
How to deposit fiat (bank transfer or card)
If you want to move fiat currency into Binance, you have two options.
Bank transfer. In supported regions you can deposit fiat such as USD, EUR, or GBP by bank transfer. Fees are often low, but the transfer can take hours to days. Binance gives you bank details and, in some cases, a reference code you must include.
Card purchase. You can buy crypto directly with a debit or credit card. It is instant but usually costs more, because card processors charge a fee and your bank may add a foreign-transaction fee.
Both fiat routes depend on your country and currency. The exact fees and limits appear on the deposit screen before you confirm.
The golden rule: always send a test amount first
For your first deposit to a new address, send a small test amount before moving the full sum.
This confirms three things at once: that you selected the right network, that the address is correct, and that the deposit credits properly. A test transfer costs only the network fee — a small price to confirm everything is right before you commit a larger amount.
Once the test arrives, send the rest with confidence.
A first-deposit checklist
Before you press send on your first deposit, run through this list. It takes ten seconds and eliminates the mistakes that actually cost people money.
| Check | Why |
|---|---|
| Network matches the sending wallet | Wrong network is the #1 cause of lost deposits |
| Address copied fresh from Binance, checked character by character | Catches address-swapping malware and copy mistakes |
| Memo/tag included if required | Some coins need it; missing it can strand funds |
| Amount above the listed minimum | Below-minimum deposits may not credit |
| Sending a small test amount first | Confirms everything is right before the full sum |
If all five are green, send the full amount.
Common deposit mistakes to avoid
These are the mistakes people actually make, in rough order of frequency:
- Wrong network. The number one cause of lost deposits. Match the network on both sides.
- Wrong address. Copy fresh from Binance, never from an old screenshot or message.
- Below the minimum. Binance lists a minimum deposit for each coin; amounts below it may not be credited.
- Wrong memo/tag. Some coins, like XRP or some exchange deposits, require a memo or tag in addition to the address. Missing it can delay or lose the deposit.
- Rushing. Every deposit mistake is preventable with a slow, careful read of the address and network.
Take the extra ten seconds. It is the difference between a routine deposit and a permanent loss.
What to do if you sent on the wrong network
If you already sent tokens on the wrong network, do not assume it is gone — but act quickly and realistically.
- Same address, wrong network. Some blockchains share the same address format (for example, Ethereum and several EVM-compatible chains). In these cases Binance can sometimes recover the funds, because it controls the same private key on both networks. Submit a deposit recovery request to Binance support as soon as possible, and be prepared for a fee and a wait.
- Wrong address entirely. If the address does not belong to Binance or is invalid, recovery is usually impossible. This is the case the character-by-character check exists to prevent.
- Missing memo/tag. If you forgot a required memo or tag, the funds often sit in Binance’s shared wallet unrecoverably until support can trace them. Report it with the transaction ID immediately.
The honest summary: some wrong-network deposits are recoverable, many are not, and none are quick. The time to be careful is before you press send — which is why the test-amount rule exists. For a first deposit to a new address, send a tiny amount, confirm it lands, then move the rest.
The bottom line
Depositing into Binance is free for crypto and simple: open the deposit page, pick the coin and matching network, copy the address, and send. Send a small test amount first, and never rush the address or network check. If you are funding with fiat, expect slower bank transfers or higher card fees.
💡 Don't have a Binance account yet? Sign up now — enter the referral code BN2688.
Once your funds have landed, learn what Binance fees cost and how to withdraw safely when you are ready to move money out.
Don't have a Binance account yet?Sign up nowenter the referral codeBN2688
Frequently asked questions
Are Binance deposits free?
What happens if I deposit crypto on the wrong network?
How long does a Binance deposit take?
Is there a minimum deposit amount on Binance?
Can I deposit fiat currency into Binance?
Why hasn't my deposit shown up yet?
Editor-in-Chief & Lead Researcher
Editor of MyCryptoStart. Independent researcher of cryptocurrency exchanges, focused on fees, security, KYC, and onboarding — publishes step-by-step guides in plain English for beginners.
View author page →Some links on this page are affiliate links: we may earn a commission at no extra cost to you. This content is educational and is not financial, investment, or legal advice. Affiliate disclosure · Disclaimer.
Continue reading
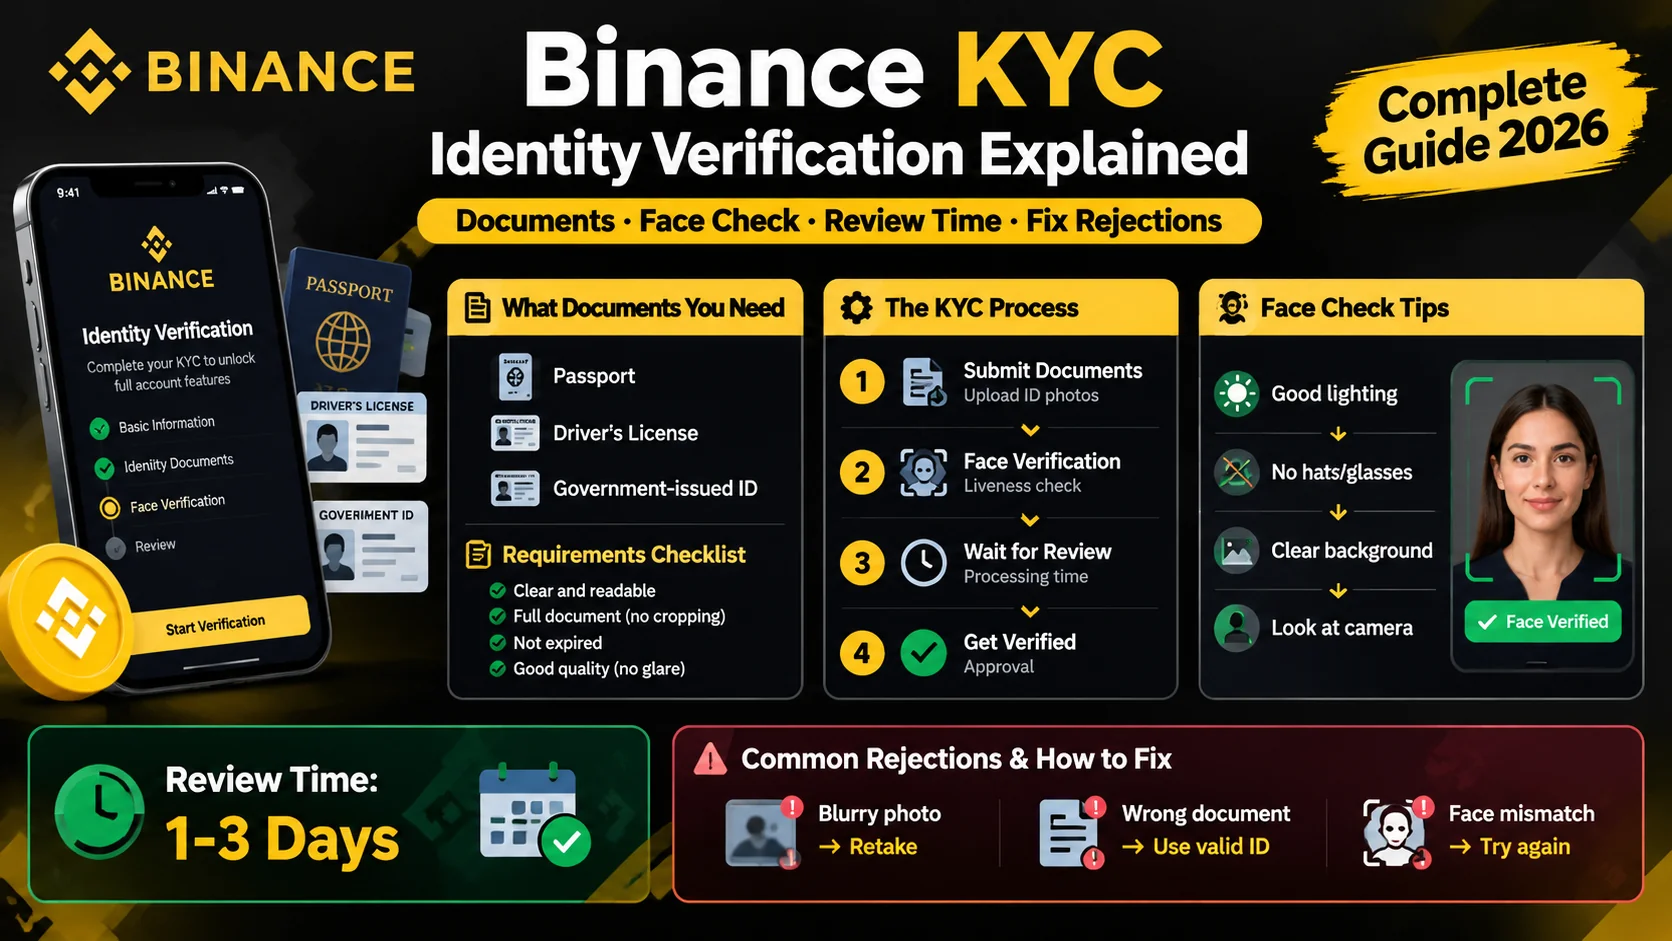
Binance KYC: How Identity Verification Works
Binance requires KYC before you trade. Learn the documents you need, how the face check works, how long review takes, and how to fix rejections.
Binance P2P: Buy and Sell Crypto Peer-to-Peer
How Binance P2P works — buy and sell crypto directly with other users, with zero fees and an escrow system that holds funds until payment is confirmed.
How to Create a Binance Account (2026 Guide)
Create a Binance account in about five minutes: sign up with email or phone, verify KYC, and turn on 2FA. Step-by-step guide for beginners.